Tutorial Details
How to Train Your AI Using Eyaana’s Knowledge Hub?
The Knowledge Hub is the heart and brain of your Eyaana AI solution.
It holds all the training data that helps your bot respond smartly, just like a well-trained team member.
And the best part?
You don’t need to be a tech wizard to use it! Let’s walk you through every step. 🚶♂️
📍 Where to Find the Knowledge Hub
-
Log into your Eyaana dashboard.
-
From the left sidebar, click on Knowledge Hub.
-
You’ll land on a page with 5 default sections — each designed to help your bot understand your business better.
🗂️ What’s Inside the Knowledge Hub?
|
Section |
Purpose |
|---|---|
|
Products |
Upload product info (name, description, features, etc.) |
|
Services |
Add service details your company offers |
|
Customer Purchase |
Upload past customer contacts (e.g., for better personalization) |
|
Instructions |
Give step-by-step instructions to guide bot behavior |
|
Chat History |
Add example conversations to train response styles |
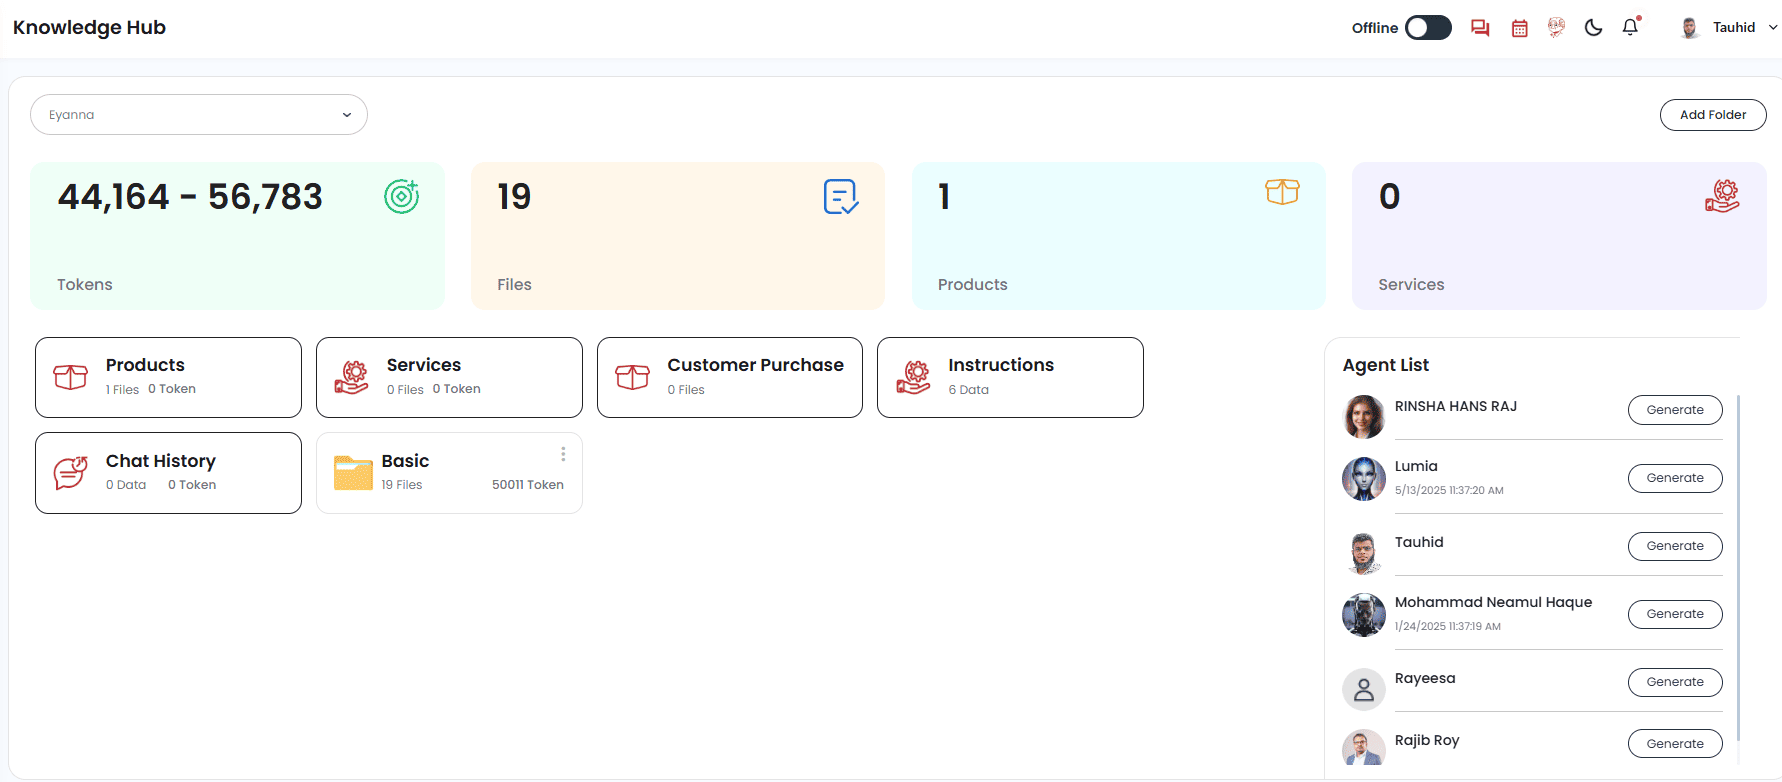
Figure: Knowledge Hub
✅ Step-by-Step Guide to Training Your Bot
1. Upload Product/Service Info
You can add data in three ways:
-
Manually
-
Using Excel (recommended for bulk uploads)
-
Through API
💡 Quick Tip: Use the sample Excel format provided, fill it in, and upload — your products and services will be live instantly!
2. Upload Customer Purchase Info
Same as products — just use the Excel template to upload past customer contacts.
3. Add Instructions
Think of your bot like a new employee.
You’ll want to tell it:
-
Its role
-
How to handle support or sales chats
-
What tone and style to use

Figure: Instructions
📄 Write all this in a Word document and upload it under the Instructions section.
4. Upload Chat History
Sample conversations help your bot learn faster.
Upload 3 example chats to get started.
🛠️ Use AI tools like ChatGPT to generate common conversations based on your use cases (e.g., customer inquiries, pricing questions, refund requests, etc.).
📁 Use the "Add Folder" Option
Organize your data into folders for better structure.
Here’s a smart way to do it:
-
Click Add Folder → Name it “Basic”
-
Create Word files based on major web pages:
-
Home
-
Product & Service
-
Pricing
-
Contact
-
FAQ
-
Upload each file inside the folder.
-
After uploading, click "Generate" beside your AI username to train the bot.
📅 The last update date will be shown — don’t forget to regenerate after making changes!
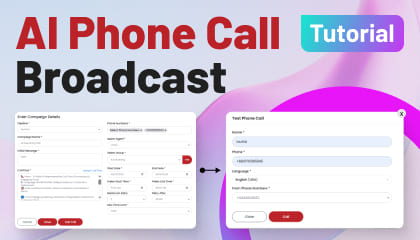
🌐 Auto-Update Using URLs
Some data (like pricing or blogs) may change regularly.
Use Add URL to train your bot directly from live webpages.
Choose an update frequency:
-
Daily
-
Weekly
-
Monthly
Eyaana will re-train the bot automatically!
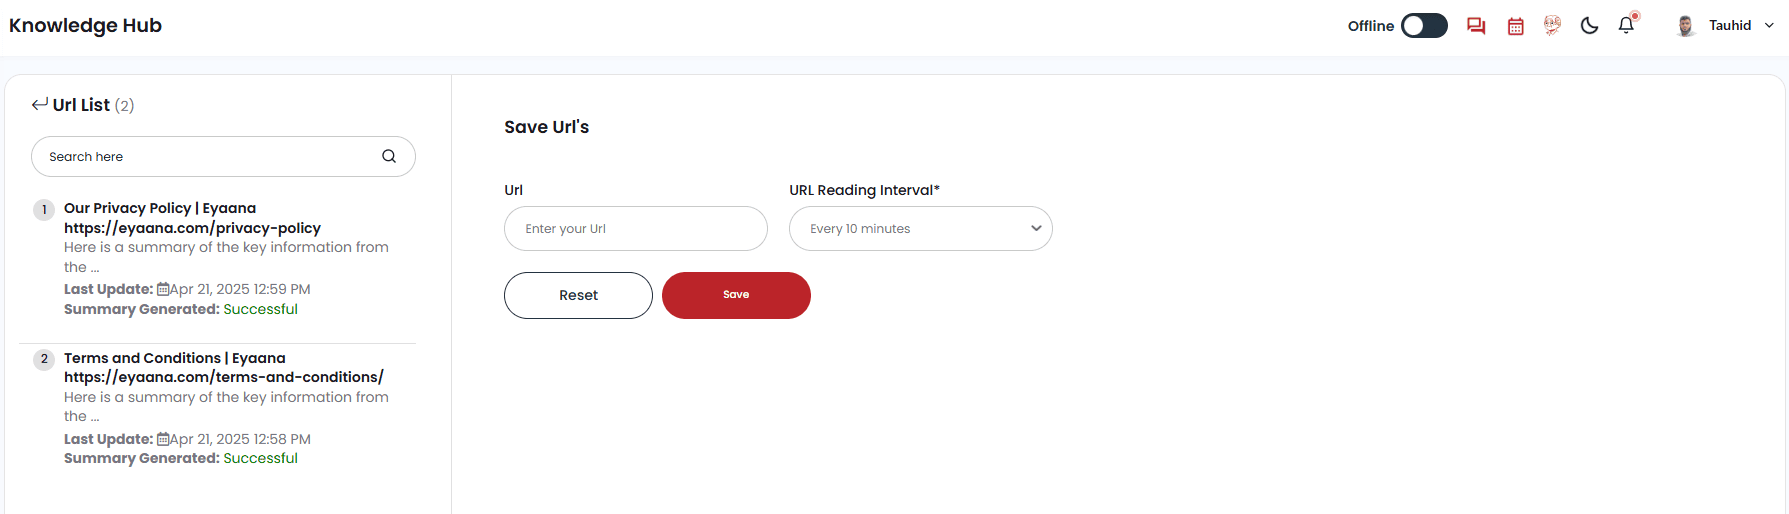
Figure: Uploading URLs
🔍 Advanced Options (Optional)
|
Feature |
Description |
|---|---|
|
Q&A |
Upload a list of FAQs as a text file |
|
Negative Prompt |
Upload a document telling the bot what NOT to say or do |
Both of these can also be added to your Instructions file if you prefer.
🎯 Final Words
Eyaana’s Knowledge Hub puts you in control of your AI’s intelligence.
Whether you’re a founder, sales lead, or support manager — if you can explain your business to a new hire, you can train your bot!
📩 Still have questions? Reach out to our support team anytime info@eyaana.com — we’re here to help you build a smarter bot, faster. 💬🤖
Do you need help?
Having trouble Using or understanding any feature? Take help from Wisemind, Your help agent inside Eyaana Dashboard. You can also book a demo with us or email us Info@eyaana.com.